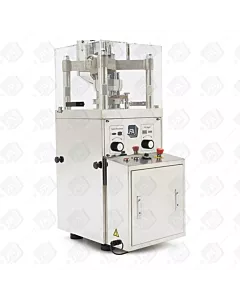
RTP 9 Upper Tracking Change
Knowing how to change your Upper Tracking is important. Over time your Upper Tracking will wear or get damaged.
First, we’re going to remove perspex shield to give us easier access to the upper punches. We’re first going to remove the hopper with a 5mm Allen key.
Next, we’re going to free the perspex case by releasing the 4 5mm Allen key bolts on the top.
Now lift off the Perspex case
Now we need to remove the Upper Punches. To allow us to remove them we first need to remove the upper tracking key. Rotate the turret so the punches are not on top of it. Taking a 4mm Allen key to undo the bolt and remove the keyed section.
Now rotate the turret using the hand turning wheel and remove the upper punches from where the key was.
Take the 36mm wrench which comes with your RTP 9and undo the 2 large nuts holding the upper cam housing in place.
Liftoff the upper cam housing whilst holding the tracking at the same time as this may fall.
Replace with your new Upper Tracking.
Replace your cam housing and replace the 2 x 36mm nuts and tighten.
Now we can start inserting the top punches through the keyed section whilst turning the handwheel so the upper tooling runs along with the top tracking. It’s important you hold the tooling head above the tracking and that it doesn’t fall like this, otherwise you will damage the tracking.
Once all your tooling is in place, rotate the handwheel so the keyed section is between 2 punches and re-insert the key and tighten with a 4mm Allen key.
You can now replace your perspex shield and hopper.
Whenever you make adjustments to your RTP 9, it’s always important to run the machine by hand first to ensure everything is running smoothly.